
Lots of adjusting
Flushed with the success of getting the scuttle covered in vinyl, I tackled the driver’s side panel a few weekends later. I knew it was going to be a two man job, so got my brother over to help out.

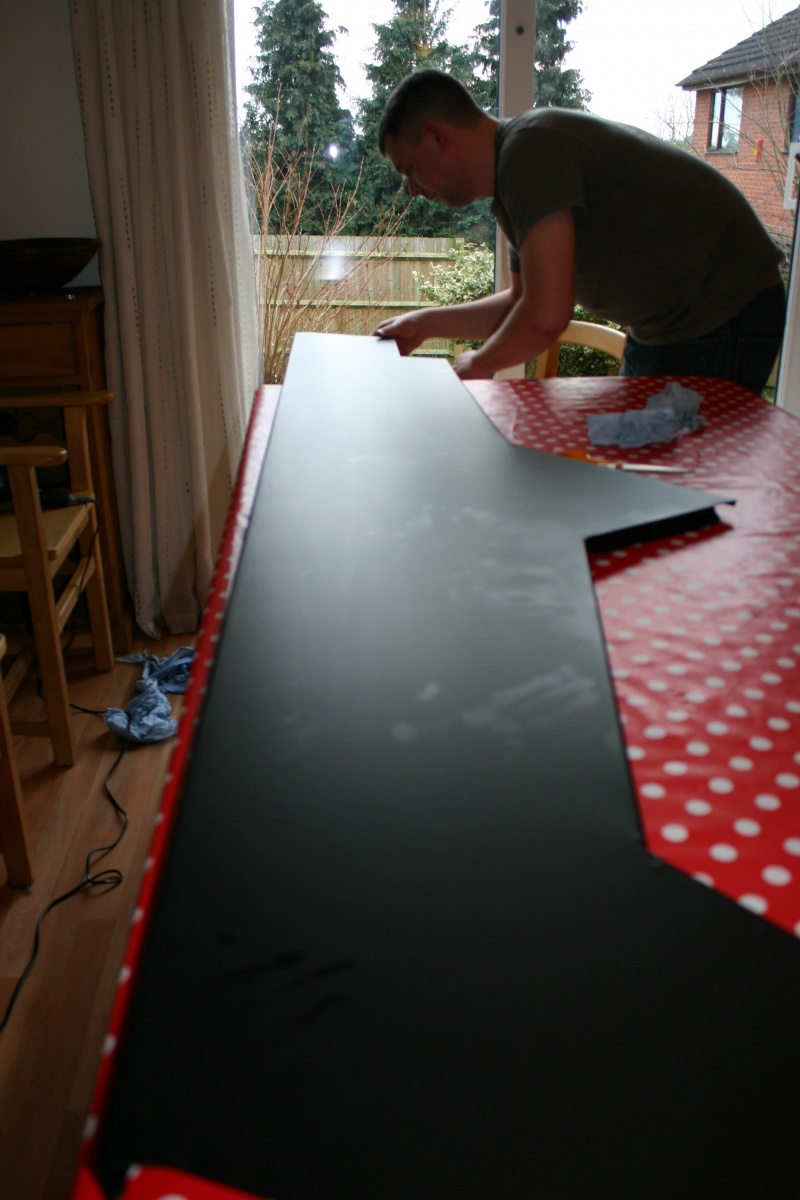
Using the panel as a template
The entire downstairs of the house was commandeered: the kitchen for washing the panels, the living room floor for laying them out on the vinyl, and the dining room table for application. Preparation was the watchword – we took hours to laying the panels down, and then marking out the extra ‘tabs’ required where the vinyl was to be folded over the panel, before finally cutting out with scissors. Unfortunately, due to a failed attempt when covering the scuttle, there was not enough vinyl to do
Squeegee the bubbles out
all of the remaining panels, whatever orientations we lay them out in, but there was enough to do side panels inside (cockpit area) and outside. I left the rear seat back panel until the future, after extra vinyl has been purchased.
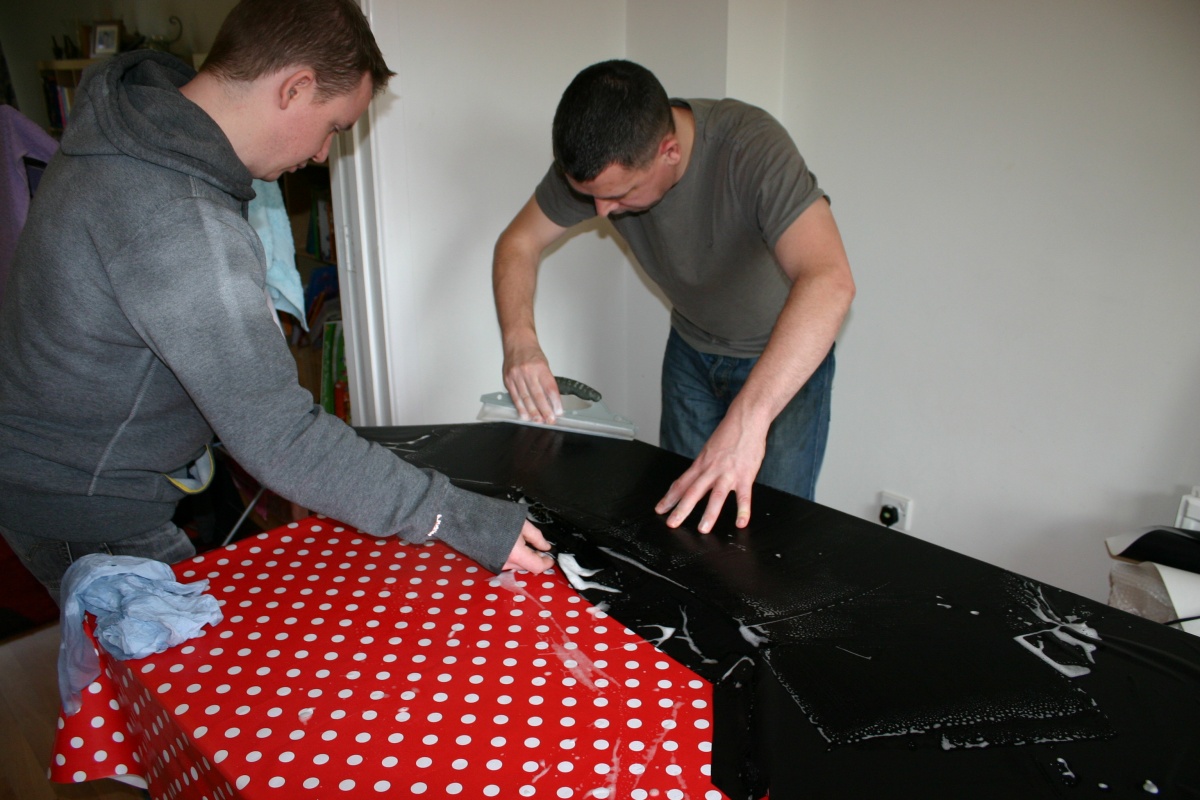
Next, the first side panel to be covered was washed down thoroughly to remove any grit etc. We covered the inside of the panel first, which were very easy because there were no folds, but this proved to be a
Drying the panels
mistake, as when we came to do the outside, the insides slipped and rippled, and had to be re-done.
The whole process of covering a panel in vinyl seems to be a cross between wrapping very large presents with sticky tape and putting screen protectors on a mobile phones, neither of which I am particularly good at!
Folding the edges over
The steps taken were:
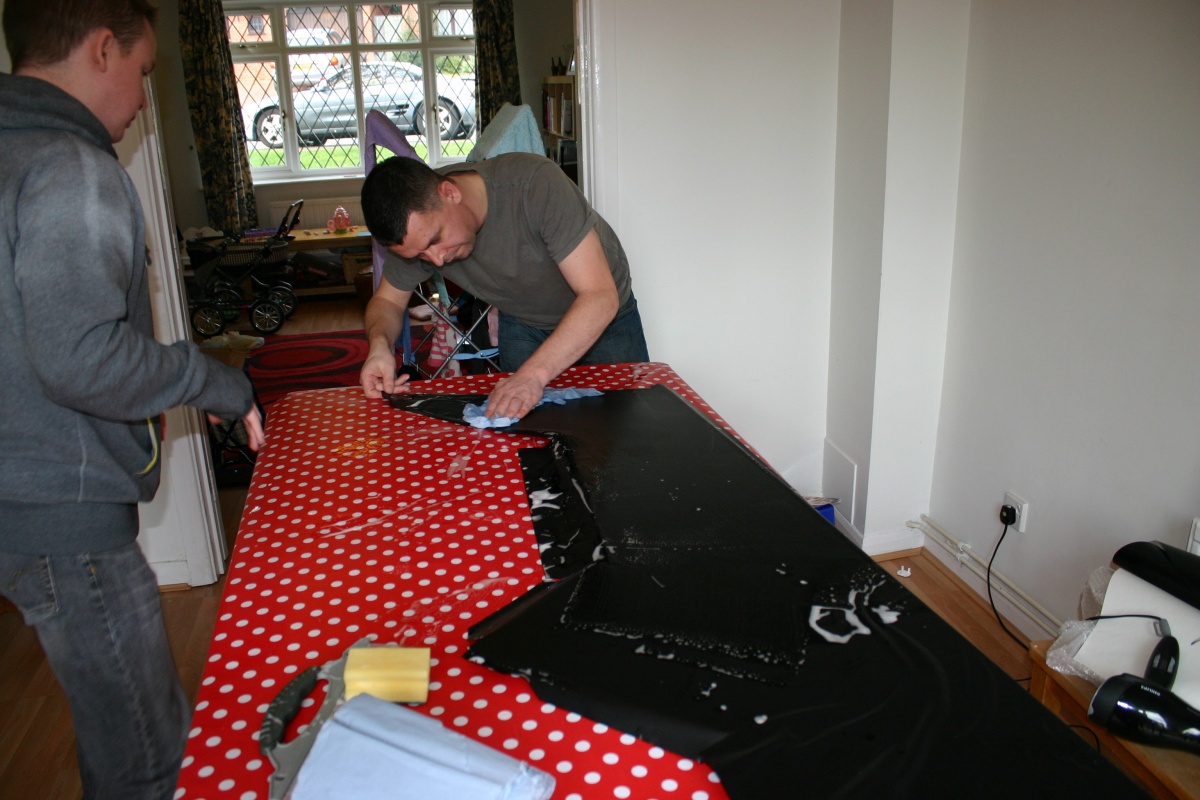
- Wet the clean panel with soapy water.
- Peel off the vinyl backing (word of caution, very difficult to do if the backing paper is wet!), making sure the vinyl did not stick to itself.
- Lay the vinyl down on the panel, lifting and adjusting until the placement is correct.
- Wet the top side of the vinyl and squeegee bubbles to the edge.
- Dry off the vinyl (and surrounding table and floor!)
-
Definitely a two man job
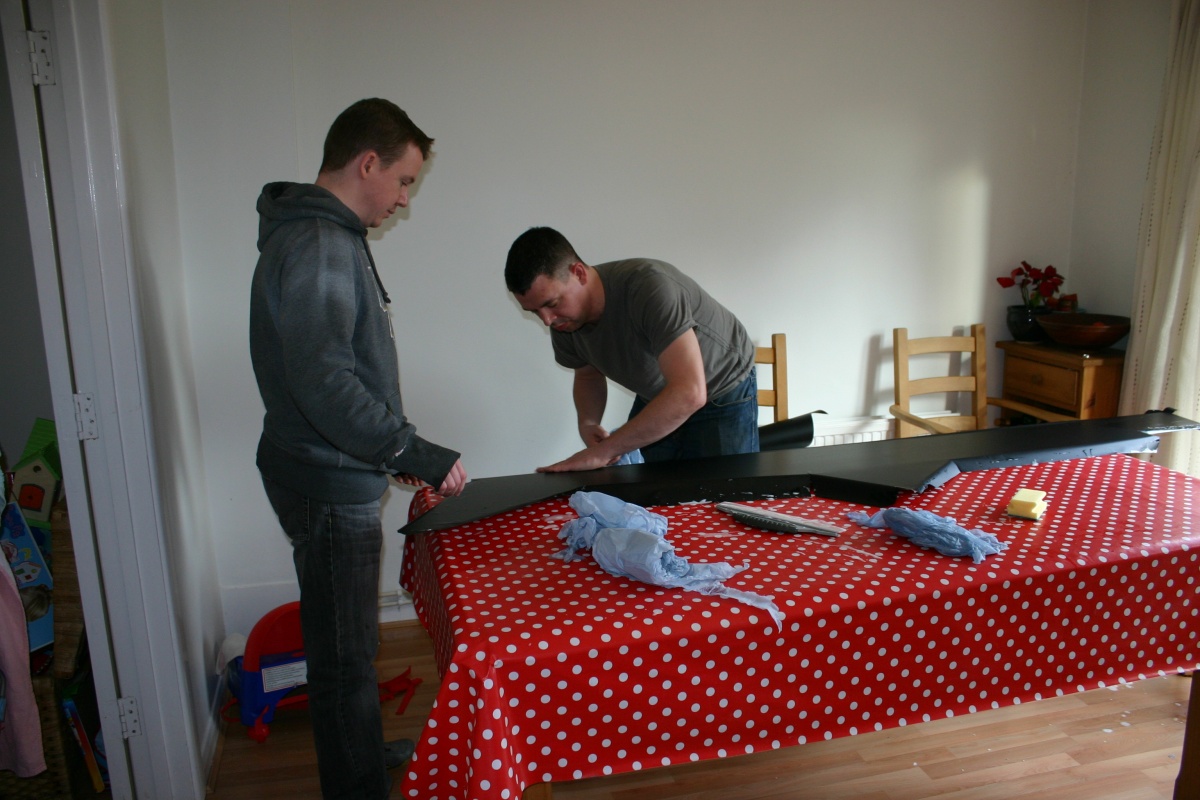
Working from back to front, gently heat the vinyl with a hair dryer (medium setting), and pull and stick edges down. Heating the panel surface also helped to draw some of the very small bubbles out. Some last minute cuts were needed when folding.
- Stand back and admire the your work – the results of several hours of worrying, cursing, swearing, vowing never to do this again, wishing you had paid somebody else to do it, wondering how the professionals managed to make it look so easy, etc.

The finished panel
As with the scuttle, the results are OK – not as good as paint, and I know professionals could do it better, but it is the best I could do, and that will do just fine. There were some dark moments where it looked unrecoverable, but the application of soapy water, or heat, or both, pulled it back from the brink.
It took the whole day to do just the driver’s side panel, and so the passenger side was done the following weekend, with the process, and results being much the same. We did briefly experiment without using soapy water, but adjustment was impossible, so we relented. We did, however, do the outside of the panel first, and let it dry, before tackling the cockpit side of the panel, and this appears to be the easier order.
I was given a few good tips yesterday at Stoneleigh regarding vinyl. Firstly, Johnson’s Baby Bath is the best soap to use. Secondly, if there are still a few annoying bubbles remaining when everything has dried, you can carefully prick them with a pin and push the air out by working the bubble around the hole. I did this today on the side panels, and it turned the 7/10 effort into a 9/10 effort – very pleased!